What is stitch & glue construction?
If you want the fastest possible build time, then stitch & glue is for you!
The stitch-and-glue method is a simple building technique that creates a strong and light paddle board, without the added of cost and time in building a
Other wooden paddle boards need frames, bulkheads and complex planking requiring many hours of planing and sanding to get a smooth finish. Plus you need something called rocker table to control the underside curve of the board. None of this is needed for plywood stitch & glue construction.

With the stitch & glue method the computer designed plywood panels are stitched together with copper wire and sealed with epoxy resin, the process eliminates the need for difficult joinery, making it a simpler, faster & lighter construction method. And creates the perfect rocker everytime.
Stitch-and-glue doesn’t require expensive molds, expensive specialist tools or professional boat building skills so it is perfect for DIY builders."
- Aaron de Ruiter, Founder Vintage Board Co.
The process of stitch & glue for building paddle boards...
- Align and clamp the hull side panels on top of each other with the outside faces together.
- Drill 2mm holes every 150-200mm through both panels along the bottom edge from front to back.
- Cut a large handful of thin copper wires approximately 7-10cm long.
- Stitch the transom to the side panels with 3 wires a side.
- Stitch the front of the side panels together.
- Place the hull sides on top of the hull bottom, drill holes in the bottom panel to match up with the sides.
- Stitch the side panels to the bottom panel, starting at the bow and working to the back.
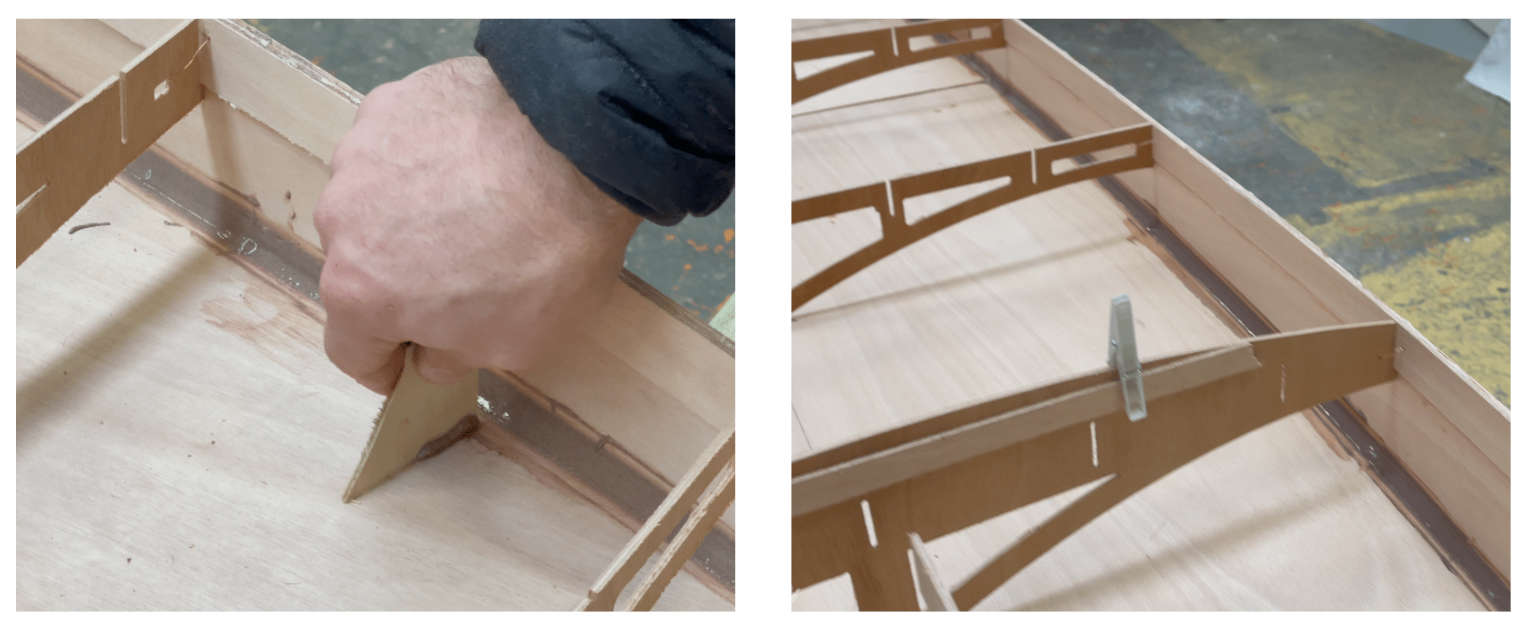
- Stitch the frames to the hull bottom and side panels.
Notes:
- Move the stitched board to saw horses, it's easier than working on the floor!
- When all stitched together check the board doesn't have any twist from side to side or from front to back.
- Once level, tighten the wires all round the board.
Images of the stitch and glue process...


