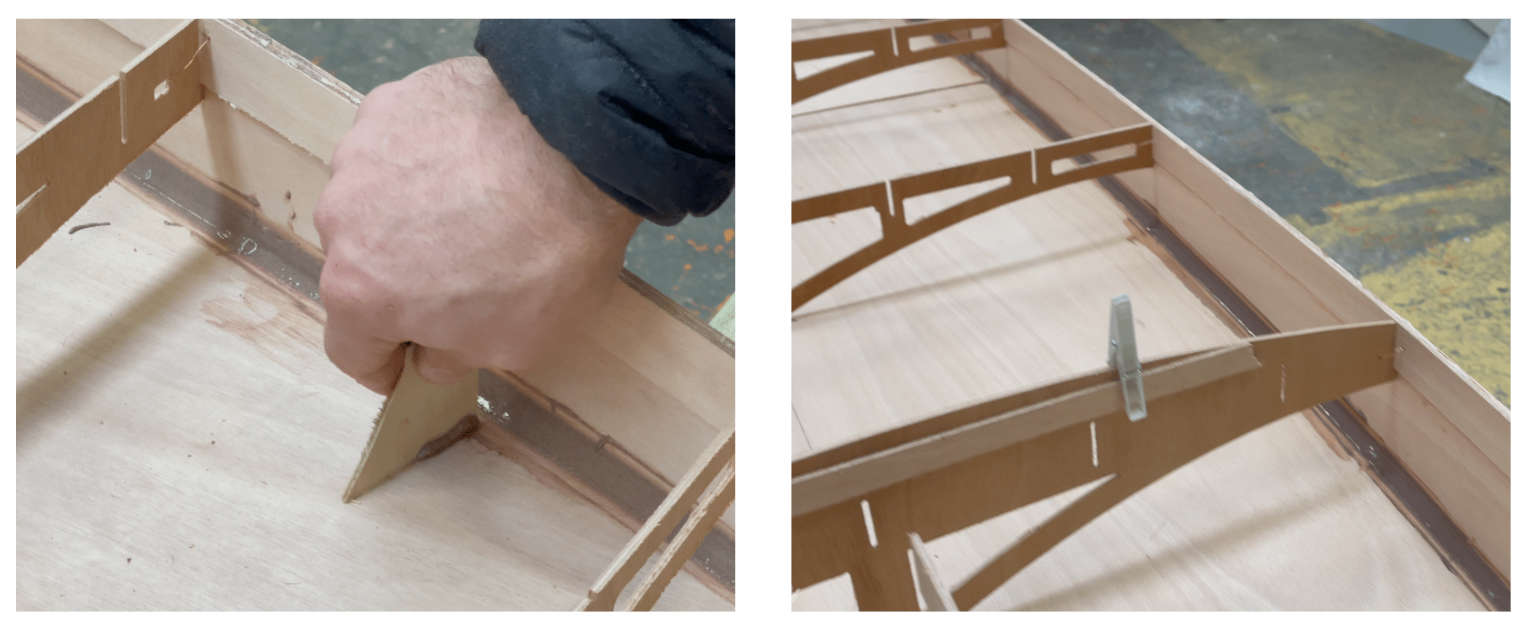
A paddle board's structure becomes significantly more rigid once the deck and foredeck are glued into place. Gluing the deck correctly is critical to the watertight integrity and strength of the board.
Make sure you pre-read the instructions below and take your time to get the process right. Having a helper on hand to help with this step is recommended but it can be done just as well by one person working alone.
Installing the deck
- Position the plywood on the board checking all around that the plywood sheet overhangs the board.
- Place weights on the plywood to keep it from moving around.
- Hold a pencil against the hull sides using the half width of the pencil to draw a line on the plywood approximately 3-4mm bigger than the actual deck size.
- Cut the plywood along the line using your circular saw or jigsaw. If needed sand down to the line with 80 grit paper on a sanding block.
- Vacuum or blow all dust and wood chips from inside the board.
- Test fit the deck on the board to be sure it has an even overhang all the way around.
- Mix approximately 200g of epoxy with thickening powder and apply to the tops of the frames, hull sides and stringers using the zip-lock bag technique.
- Gently lower the deck onto the board. Add weights above the frame locations to hold the deck in place while the epoxy cures.
- Clamp the deck down along hull sides with as many clamps as you have, ideally every 50-75mm.
Once the glue is dry trim the edges of the deck to match the hull sides. This can be done with 80 grit sandpaper, a router with a trim bit or with a hand plane.


